The First 3 TRX’ing Steps to Transforming Your Physique. The 3 steps explained below! Using a TRX Bicep Curl as an example:
STEP 1: THE SETUP
- Precisely setting up is key.
- We need to ensure the muscle we’re training is doing the most work.
- First check the handles. Make sure they’re balanced and symmetrical in how they sit.
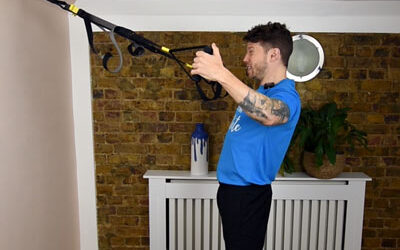
- I like to begin the setup at where I’m aiming to end = the hard contraction at the top of the curl.
- Find the appropriate tension on the straps by moving the feet in or out and balancing the straps.
STEP 2: STABILISE
- Find the most comfortable position to lock your feet in. For me that’s an athletic shoulder width stance.
- Now mentally lock-in and focus on THE ONE MUSCLE that’s going to cause the movement = BICEPS
- DO NOT LOSE THIS STABILITY AND FOCUS. Do not move. Do not bounce.
- Picture holding your entire body in stone.
- All that is free to move (contract and lengthen) is the bicep muscle
STEP 3: INITIATE AND LOAD
- Now we’re set up and locked in it’s time to begin loading the muscle with tension through hard contracting and slow controlled lengthening.
- Make sure the muscle we’re working MOVES FIRST. This is the key to making the muscle do the work.
- Focus on breathing – an advanced form of training is using only nasal breathing (I’ll do a separate post on why).
- Breathe in for the longer downwards lengthening of the biceps phase
- Sharp breath out for the short contract curl phase.
When to do this? ALWAYS.
Every single set, every single exercise.
I learnt this 3 step approach years back from one of my favourite yogi bodybuilding athletes Ben Pakulski.
I’ve slightly adapted it over time. Practicing this makes a big difference in the long run.
Eventually it becomes habit and not something that needs thinking about.
Stay safe stay healthy
TRX’ing in: London
Do you want the ability to achieve your fitness goals anywhere?
So did I…
That’s why I developed the TRX Fitness Freedom programs: https://fitnessfreedomathletes.com/trx-programs/

Pin this post for later…










0 Comments